CNIC Size Pakistan — mm, cm & Inches
CNIC size in mm, cm, and inches — make a free NADRA-style photo online, no signup.
Files are processed automatically and deleted after 60 minutes. No human review.
ID-1 card copy (front/back sheet): 85.6 × 54 mm = 8.559999999999999 × 5.4 cm ≈ 3.37 × 2.13 in ≈ 1011 × 638 px at 300 DPI (ISO/IEC 7810).
Always confirm the requirements of the form or portal. These numbers come from the tool config.
1. Choose your document
Pick the size and background before you upload so the crop guide matches your portal.
2. Upload your photo
Check the requirement of your form — this size preset is not yet verified against an official source.
—
For best results, use a plain background and even lighting — photograph against a wall, not a patterned surface.
Allow camera access. Nothing is uploaded until you capture.
Drop your portrait here
or click to browse
JPG, PNG, WebP · Face the camera · No account required
4. Frame your photo
Drag the photo to center your face. Drag the oval to fine-tune. Pinch or use +/− to zoom. Corner handles resize the frame — you have final control.
5. Your photo
Sample ID card preview
Sample only · watermarked pdfpeaks.com · not a valid ID · not for legal or government use.
Guide
CNIC Photo Size and Passport Photo Maker
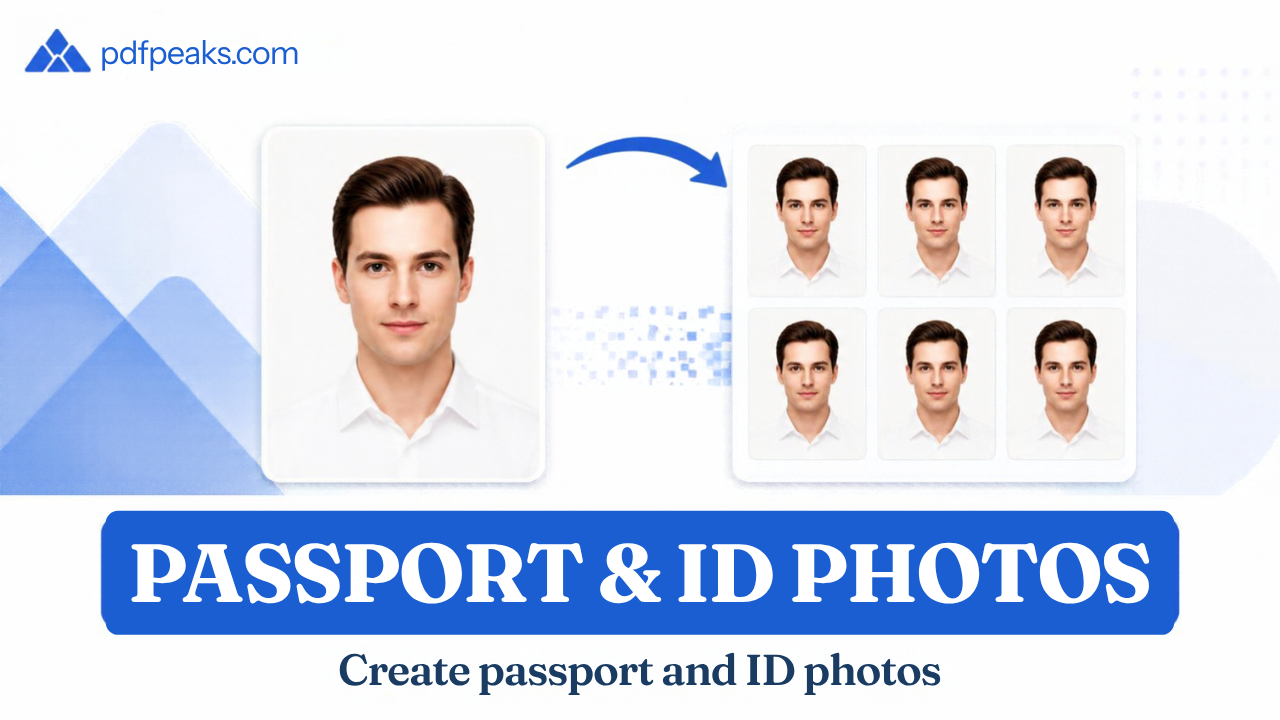
PdfPeaks Passport and ID Photo Maker is a free online tool that prepares CNIC, NICOP and Pakistan passport photos. A CNIC or passport photo is 35 x 45 mm, which is 413 x 531 pixels at 300 DPI. Upload a portrait, frame the face in the oval guide, choose a background colour, and download a JPG. The plastic CNIC card itself is the ID-1 size, 85.6 x 54 mm. No account is needed.
A CNIC photo is 35 x 45 mm. That is 3.5 x 4.5 cm, about 1.38 x 1.77 inches, or 413 x 531 pixels at 300 DPI. Pakistan passport photos share the same size. The plastic CNIC card is a different measurement: the standard ID-1 format, 85.6 x 54 mm, or about 3.37 x 2.13 inches.
This tool turns an ordinary portrait into a photo that matches the size, background and file size you pick. Choose your document, upload a picture or use the camera, frame your face in the oval guide, and download a JPG. You can switch the background between white, light blue, light grey or a custom colour, and set your own width, height and DPI when a form asks for something specific.
It is free and needs no account. One honest limit: nobody outside the issuing office can promise that a photo will be accepted. Rules differ between NADRA centres, online forms and passport offices, so compare the result with the guidance for the channel you are using.
How It Works
How to make a CNIC or passport photo online
Step 1: Pick your document. Choose CNIC, NICOP or passport. The page shows the size and background it will use. If your form asks for something different, change the width, height, DPI or background colour. You can enter sizes in mm, cm, inches or pixels.
Step 2: Upload a portrait or use the camera. Plain wall, even light, face towards the lens. With the camera option, nothing is uploaded until you press Capture.
Step 3: Frame your photo. Drag the picture to centre your face, drag the oval to fine-tune, and zoom with the plus and minus buttons. The corner handles resize the frame. You have the final say.
Step 4: Set a file size target if you need one. Pick 50, 100 or 200 KB before you confirm the crop. The tool can lower the DPI, down to 150, to reach the target.
Step 5: Confirm the crop and read the checks. The checks are a guide, not a ruling. Fix and retry if something looks off.
Step 6: Download the JPG, or print. For printing, use the print sheet with six photos on one A4 page, and print at 100 percent or Actual Size, never Fit to Page.
Security & Privacy
What happens to your photo
Files are processed automatically and deleted after 60 minutes. No human reviews them. If you use the camera option, nothing leaves your device until you press Capture.
A portrait for an identity document is sensitive. Upload only photos you have the right to use, and for a child or another adult, get their permission or their guardian’s. After downloading, delete the file from shared or public devices and from chat apps you no longer need it in.
PdfPeaks prepares images. It does not issue, verify or authenticate a CNIC, NICOP or passport, and it is not connected to NADRA or the passport office. Read the Privacy Policy before uploading anything you would not want a stranger to see.
Common Use Cases
When people use a CNIC and passport photo maker
CNIC renewal or correction: Prepare a printed photo when your centre asks you to bring one.
NICOP applications: The same 35 x 45 mm portrait, with the background your channel asks for.
Passport applications: A white-background photo at 35 x 45 mm.
Upload forms with a KB limit: Pick a 50, 100 or 200 KB target instead of guessing.
Job, university and scholarship portals: Many ask for a passport-size photo as a JPG under a size limit.
Visa and online applications: Set a custom width, height or DPI when the portal lists its own numbers.
Printing at home: Print six photos on one A4 sheet and cut them yourself.
Children and babies: Use a plain sheet, shoot from above, and check the rules for children with the office.
Tips for Best Results
Tips for a photo that passes the first time
Use a plain wall: Patterns and shadows behind your head are the main reason cutouts look rough.
Light your face evenly: Face a window. A window behind you turns the face dark.
Keep the phone at eye level: Arm’s-length selfies distort the face.
Contrast with the backdrop: A white shirt on a white wall makes edges harder to separate.
Skip filters: Beauty effects can get a photo rejected.
Check glasses for glare: Take them off if the form allows it.
Match the form, not the preset: If the portal lists a pixel size or KB range, enter exactly that.
Reduce quality before size: When a file is too heavy, a lower KB target keeps the dimensions intact.
Print a test first: Measure a plain-paper copy with a ruler before using photo paper.
Choose the right tool for the job: To shrink an existing image use Compress Image. To cut out a background on its own, use Remove Background. For a copy of the card itself, use ID Card to PDF.