Article body for the pdfpeaks.com admin form. Copy from the first paragraph below. The Title field is the page H1, so do not paste this title line.
The standard business card size is 3.5 × 2 inches (88.9 × 50.8 mm) in the United States and Canada, and 85 × 55 mm (about 3.35 × 2.17 inches) in the UK and most of Europe. At 300 DPI, those come to 1050 × 600 pixels and 1004 × 650 pixels. Japan, Australia and China each use a close variant, and some of them differ from the rest by a single millimetre.
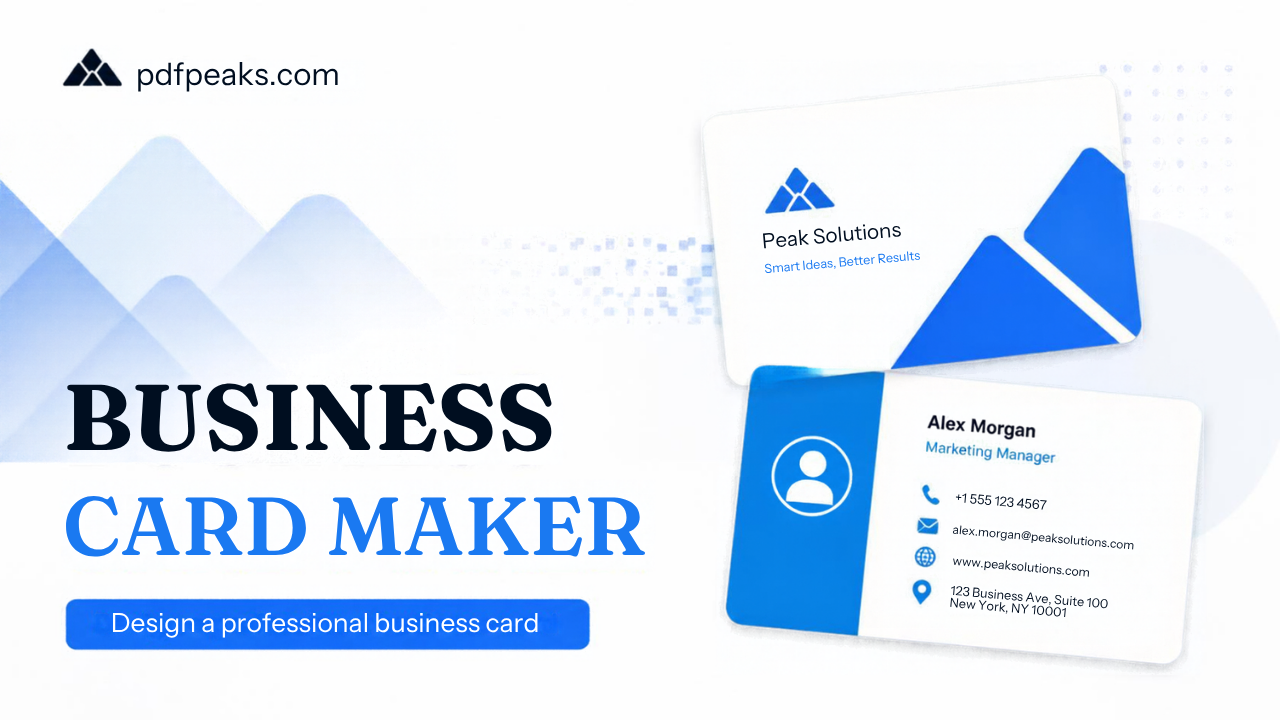
That sounds like trivia until a printer sends your file back. A card is so small that a 2 mm slip shows up as a white sliver down one edge, or a phone number clipped by the cutter. This guide lists the common sizes in inches, millimetres and pixels, then covers the mistakes behind most rejected files: missing bleed, text too close to the edge, and low resolution. If you would rather skip the arithmetic, the free business card maker on PdfPeaks gives you an 85 × 55 mm card with bleed already added.
Standard business card sizes at a glance
Pixel values assume 300 DPI, which is the usual minimum for print.
- United States and Canada: 3.5 × 2 in (88.9 × 50.8 mm, or 8.89 × 5.08 cm). 1050 × 600 px.
- UK and most of Europe: 85 × 55 mm (3.35 × 2.17 in). 1004 × 650 px.
- Australia and New Zealand: 90 × 55 mm (3.54 × 2.17 in). 1063 × 650 px.
- Japan: 91 × 55 mm (3.58 × 2.17 in). 1075 × 650 px.
- China: 90 × 54 mm (3.54 × 2.13 in). 1063 × 638 px.
- Credit card, for comparison: 85.6 × 54 mm (3.37 × 2.13 in).
Look at how close these are. The US card is about 4 mm wider and 4 mm shorter than the European one. On paper that gap looks tiny, but a layout built for one size does not drop into the other without some rearranging.
Business cards have no single ISO standard of their own, so treat every size above as common practice, not a rule. If your printer gives you a template, use theirs.
Business card size in inches
Inches matter if you are ordering from a US or Canadian printer, or if your design software is set to imperial units. The standard card there is 3.5 inches wide and 2 inches tall in landscape. Turn it upright for a portrait card and it becomes 2 × 3.5 inches.
The European size works out to about 3.35 × 2.17 inches. If you are typing numbers into a template by hand, use the millimetre values and let the software convert. Rounding 2.17 down to 2.1 costs you nearly 2 mm of height, and on a card that shows.
For quick conversions, multiply inches by 25.4 to get millimetres, or by 2.54 to get centimetres. A US card with a 0.125 inch bleed on every side measures 3.75 × 2.25 inches before it is cut. The bleed section below explains why.
Business card size in mm and cm
Millimetres are the safest unit for card work. Most printers outside the US quote in them, and the numbers need no rounding. The common sizes are 85 × 55 mm, 90 × 55 mm, 91 × 55 mm and 90 × 54 mm. For centimetres, divide by ten, so 85 × 55 mm is 8.5 × 5.5 cm.
You will also come across 90 × 50 mm. Some print shops use it as a rounded metric version of the US card (88.9 × 50.8 mm). It is not interchangeable with 85 × 55 mm, though. The card is 5 mm shorter, which changes how many lines of contact details fit.
Business card size in pixels
A card has no pixel size until you choose a resolution, which is why pixels confuse people more than any other unit. The formula is pixels = inches × DPI. If your size is in millimetres, divide by 25.4 first. An 85 × 55 mm card at 300 DPI works out to 85 ÷ 25.4 × 300, or 1004 pixels wide, and 55 ÷ 25.4 × 300, or 650 pixels tall.
Common trim sizes at 300 DPI:
- 3.5 × 2 in: 1050 × 600 px
- 85 × 55 mm: 1004 × 650 px
- 90 × 55 mm: 1063 × 650 px
- 90 × 50 mm: 1063 × 591 px
- 91 × 55 mm: 1075 × 650 px
If your printer asks for 600 DPI, double every number. A US card at 600 DPI is 2100 × 1200 px.
Why not 72 or 96 DPI? Those are screen resolutions. A 3.5 × 2 inch card at 72 DPI is only 252 × 144 pixels, which looks fine on a monitor and prints blurry. Low resolution is one of the most common reasons a card looks soft on paper, and it is easy to do by accident when you start from a logo saved off a website.
If you also want a digital copy for WhatsApp or an email signature, export a PNG and shrink it with Compress Image. Screens do not need print resolution.
What size is a business card in Pakistan?
Print shops in Pakistan usually say visiting card, and the sizing question comes up constantly because no national rule exists. Shops quote whatever their cutting templates and paper stock allow. Two sizes tend to come up: 3.5 × 2 inches (the US size) and a metric version near 90 × 50 mm, with 85 × 55 mm appearing as well. Ask before you design.
Three questions settle it:
- What is the exact trim size?
- How much bleed do you need on each side?
- Do you want front and back as two pages of one PDF, or as separate files?
Keep the answers in a message you can scroll back to. A printer who hands you a template file saves you the whole problem. If yours does not have one, use the closest size from this guide and tell them which you picked.
Bleed, trim line and safe zone
Three terms, one idea: the cutter is never perfect.
Most printers print on a large sheet and cut it into cards. The blade can drift by a fraction of a millimetre between stacks. To hide that drift, the artwork runs past the card edge and everything important stays well inside it.
- Trim line: the final edge of the card. The sizes in the list above are trim sizes.
- Bleed: extra artwork beyond the trim line that gets cut away. Most printers ask for 3 mm (0.125 in) on every side. Backgrounds and images must reach the bleed edge.
- Safe zone: a margin inside the trim line where text, logos and QR codes must stay. Keep at least 3 mm clear, and 4 or 5 mm if you want a comfortable margin.
Do the arithmetic once and write it down. An 85 × 55 mm card with 3 mm bleed is 91 × 61 mm, which is 1075 × 720 px at 300 DPI. A US card with 0.125 in bleed is 3.75 × 2.25 in, or 1125 × 675 px. Set your canvas to the bleed size, then draw guides for the trim line and the safe zone.
Thin borders deserve a warning of their own. A neat 1 mm line drawn 2 mm from the edge looks great on screen. After cutting, it can sit closer to one edge than the other, and the whole card looks crooked. Either let the colour run off the edge or leave a wide margin so a small shift does not show.
Setting the size in Photoshop, Illustrator or an online editor
The steps are similar everywhere. Choose the unit your printer uses, set the document to the trim size plus bleed, and pick 300 DPI (called ppi in Photoshop). Then add guides at the trim line and the safe zone.
In Photoshop, create a new document at the bleed size, for example 91 × 61 mm, and mark the trim with guides. Illustrator has bleed fields in the new-document dialog, so enter the trim size and 3 mm bleed there. Browser-based editors vary a lot. Look for a custom size option in mm or inches, and check whether the export includes bleed before you build the whole design. A tool that cannot export bleed leaves you extending backgrounds by hand.
Resolution, colour and file format
Resolution first. Treat 300 DPI as the floor. Photos and raster logos should be at that resolution at final size, because stretching a small logo makes it fuzzy. If your logo exists as an SVG, AI or PDF file, use that. Vector artwork stays sharp at any size.
Colour next. Screens mix red, green and blue. Presses print with cyan, magenta, yellow and black. Bright blues and greens often look duller on paper than on your phone. Ask your printer whether they want CMYK or convert RGB files themselves, and order a printed proof if colour matters, for example when you are matching a brand colour.
Then file format. A PDF is the safest choice for most printers because it keeps fonts and layout together. Many printers ask for the front and back as page one and page two of the same PDF. If you made them separately, put them in order with Merge PDF. If an upload form rejects a heavy file, Compress PDF can bring it down, but zoom in on the small text afterwards. Heavy compression softens text and logo edges first.
Text size and layout that survive printing
A business card holds about 40 words before it feels crowded. These rules of thumb hold up in print:
- Name: 10 to 12 pt. Job title and company: 8 to 10 pt. Phone, email and address: 7 to 9 pt. Below 7 pt, thin fonts start to disappear.
- Use a clean sans-serif or a sturdy serif for small text. Light weights look elegant on screen and break up on paper.
- Give the eye one place to land first, usually the name or the logo, not both at the same size.
- Leave empty space. It is what makes the small details readable.
- Make QR codes at least about 2 × 2 cm with a quiet border. Scan the printed proof with a phone before you approve a big run.
- List only the contact details people really use. Nobody is going to fax you.
Other shapes: square, slim, folded and rounded
Standard landscape cards are not your only option. Square cards (often around 2.5 × 2.5 inches or 65 × 65 mm), slim cards, folded cards and rounded corners all exist, and each printer offers its own sizes. Ask for the template instead of guessing, because a custom shape usually needs its own cutting setup and its own bleed.
Two practical points. Unusual sizes may not fit card holders and wallets built for the standard card, which matters if people keep your card for years. And paper weight changes how a card feels: 300 to 400 gsm is a typical range, with the heavier end feeling sturdier and costing more. Our advice for a first order is to stay with the standard size and spend the extra money on paper.
Make a card at the right size with PdfPeaks
The PdfPeaks Business Card Maker produces an 85 × 55 mm card with bleed. That is the common European size, so it works with printers that quote in millimetres.
- Open the Business Card Maker.
- Enter your name, job title and contact details.
- Check the preview and make sure nothing sits close to the edge.
- Download the PDF and send it to your printer.
If your printer works to a different trim size, such as the US 3.5 × 2 inches, tell them before you order. The two sizes have different proportions, so a card cannot just be stretched to fit without distorting the layout.
Two other tools help with the artwork. Remove Background cuts a logo or a headshot out of its background so it sits cleanly on the card, and Resize Image sets exact dimensions, with the aspect ratio locked so nothing gets squashed. If you also need a matching header for letters and invoices, the Letterhead Maker is a separate A4 tool, and our guide to company letterhead format in Pakistan explains what banks and clients look for.
Mistakes that get cards rejected or reprinted
- Designing on an A4 canvas and shrinking it later. Text that looked fine at A4 ends up unreadably small. Start at the card size.
- Skipping the bleed. You get a thin white line along one or more edges after cutting.
- Putting text in the bleed or too close to the trim line. A name clipped by the cutter is the classic reprint.
- Using 72 DPI artwork. Check a logo's pixel size before you place it.
- Mixing up units. A canvas of 3.5 × 2 mm instead of 3.5 × 2 inches gives you a very small card. Check the unit dropdown.
- Assuming one printer's template fits another. Always use the template of the shop doing the job.
- Approving a large run without a proof. One printed proof is cheap insurance.
Checklist before you send the file
- Trim size confirmed with the printer, in inches or millimetres
- Canvas set to trim size plus bleed (typically 3 mm or 0.125 in per side)
- Background reaches the bleed edge
- Text and logos at least 3 mm inside the trim line
- Artwork at 300 DPI or higher at final size
- Fonts embedded or converted to outlines in the PDF
- Front and back in the right order
- Colour mode checked against what the printer asks for
- QR code tested from a printed proof
Get the trim size, the bleed, the safe zone and the resolution right and most printers will take your file as it is. For other size-sensitive documents, see our guides to CNIC and Pakistan passport photo size and passport photo size by country.
No comments yet. Start the discussion.